How to publish a site from the builder in 10 steps
From draft to a live domain: ten clear steps to publish with Martini Francesco, without FTP or a separate hosting panel.
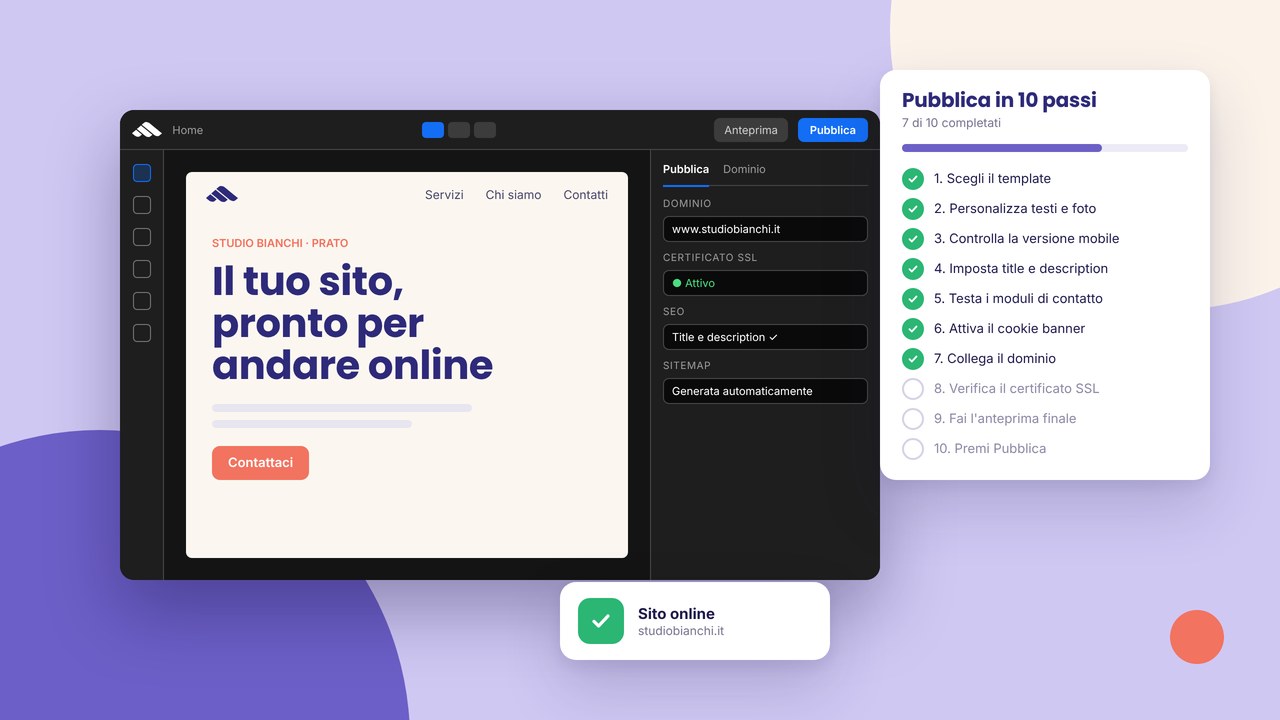
You have finished the design and you want to go live. With a builder integrated with hosting you do not need to open FTP, install plugins or figure out separate panels: you follow a straight path from the draft to a domain with HTTPS. Here are ten steps we use with clients on Martini Francesco.
1. Define the goal and the pages
Before you publish, be clear about what the site needs to do: contacts, a portfolio, bookings? List the pages you need (home, services, about, contact). If the project grows, consider a multi-page structure instead of one very long landing page.
2. Content and hierarchy
Each page has a single h1 and sections with h2 headings. Keep the copy short, make paragraphs easy to scan, and keep CTAs visible. Avoid huge blocks of text on mobile: check the tablet and smartphone breakpoints in the canvas.
3. Components and consistency
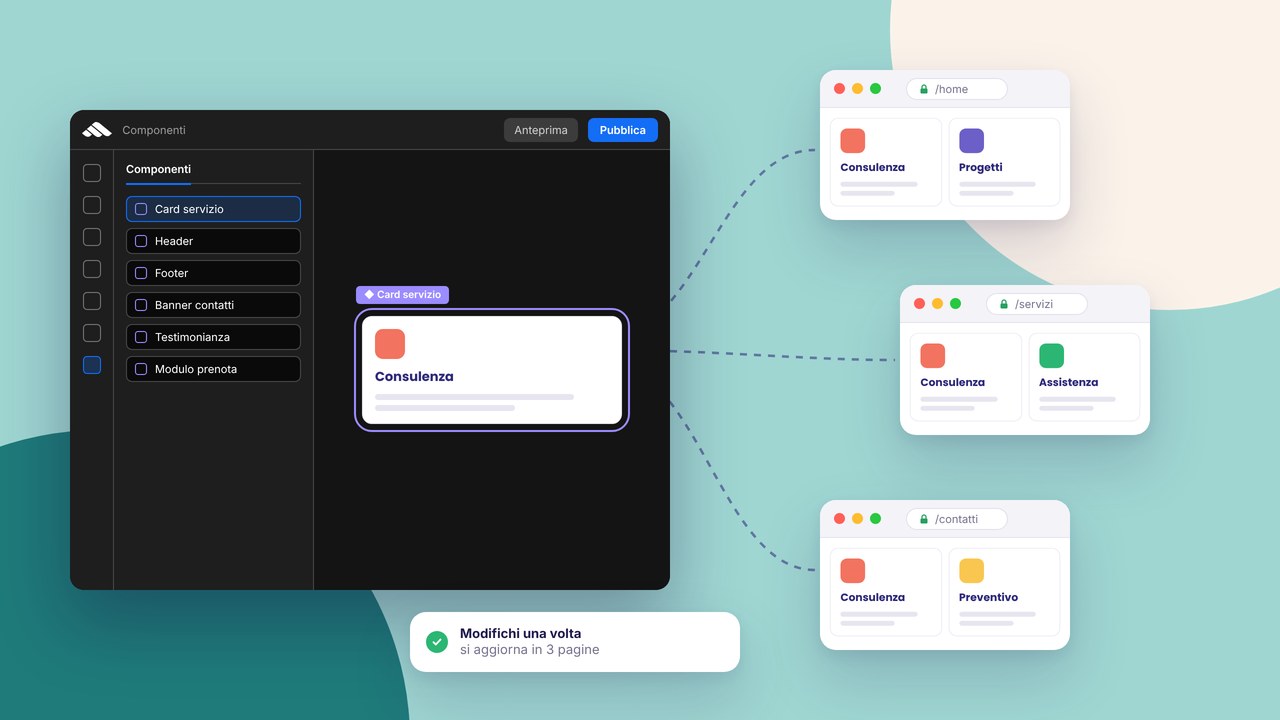
Repeated CTAs, service cards and FAQs? Save them as reusable components so you update them once and keep the same style on every page.
4. Revisions before you publish
Every save creates a revision. Before go-live, compare the current version with the previous one: it is the safest way not to lose a block that was already working.
5. Meta title and description
For every URL, set the title and description from the inspector. Do not leave pages with empty meta tags: they are the first impression on Google. You can go deeper in the guide meta title and description for beginners and on the SEO optimisation page.
6. Images and performance
Use lightweight formats (WebP where possible), sizes that fit the layout, and descriptive alternative text. Images that are too heavy slow the site down and hurt the mobile experience.
7. Privacy, cookies and HTTPS
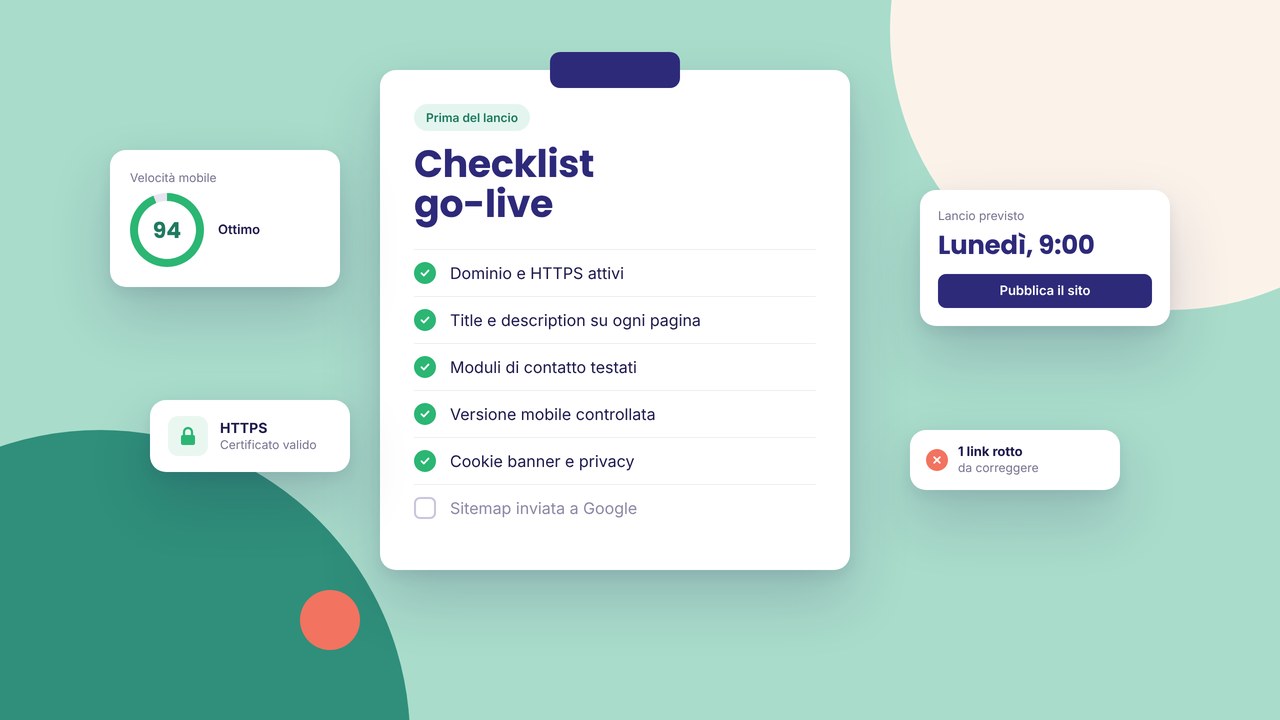
Link to the privacy policy and the cookie policy, and keep the consent banner active. Martini hosting includes HTTPS and SSL at publish: check that there are no mixed http/https links in the content.
8. Forms and contact details
Test every form in preview: destination email, confirmation messages, required fields. A broken form after launch is one of the most expensive mistakes in terms of lost leads.
9. Preview on real devices
Beyond the builder breakpoints, open the site from a phone and a tablet. Menus, panels and animations must stay usable; if something “jumps around”, simplify it before you publish.
10. Publish and check the live site
When the checklist is ok, publish from the builder. Check the home page and internal pages, the sitemap, Search Console, and that the domain responds over HTTPS. Details on infrastructure and plans are on the hosting page.
After launch
A live site is not the end: monitor Search Console, update the content every 4–8 weeks, and use revisions for important changes. If you are starting from scratch, sign up and build in draft, with no commitment, until you are ready for step 10.